3. Class List
This guide provides step-by-step instructions on how to create a class list in TytonAI.
Overview
The Class List module in TytonAI defines and manages the classification system for your projects. Your class list is the foundation of all analysis, it determines how imagery is categorised, how assessment points are labeled, and how training data is structured. By default, TytonAI provides a set of six core classes trained on the Mega Model. These can be expanded with public or custom classes to match your organisation’s analytical needs.
Types of Classes
Public Classes
- Shared across all TytonAI customers
- Represent the most common and widely trained categories
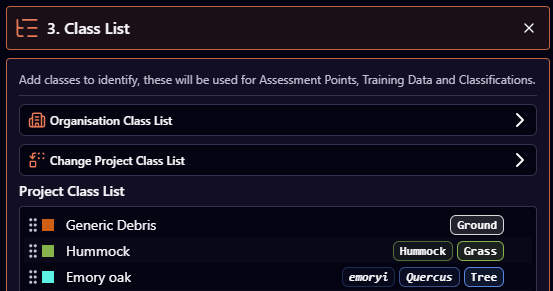
- Identified by the TytonAI logo across from the class name
Custom Classes
- Unique to your organisation and reusable across all projects
- Defined with a name, color, and Parent Mega Model Class
- Used when your project requires specialised categories not covered by the public set
Accessing the Module
- Open the Workflow Wizard and select Step 3: Class List.
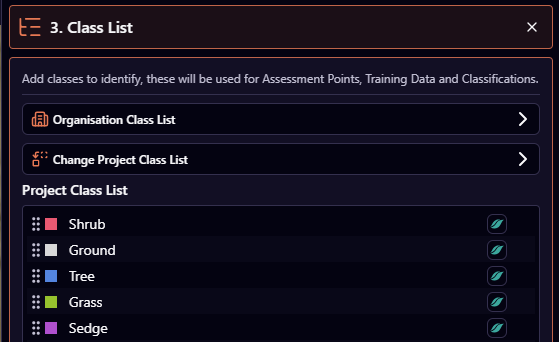
- The panel displays the current classes in your project.
- By default, you will see the six Mega Model classes: Shrub, Tree, Herb, Grass, Sedge, and Ground.
Working with your Class List
Viewing & Adding Classes
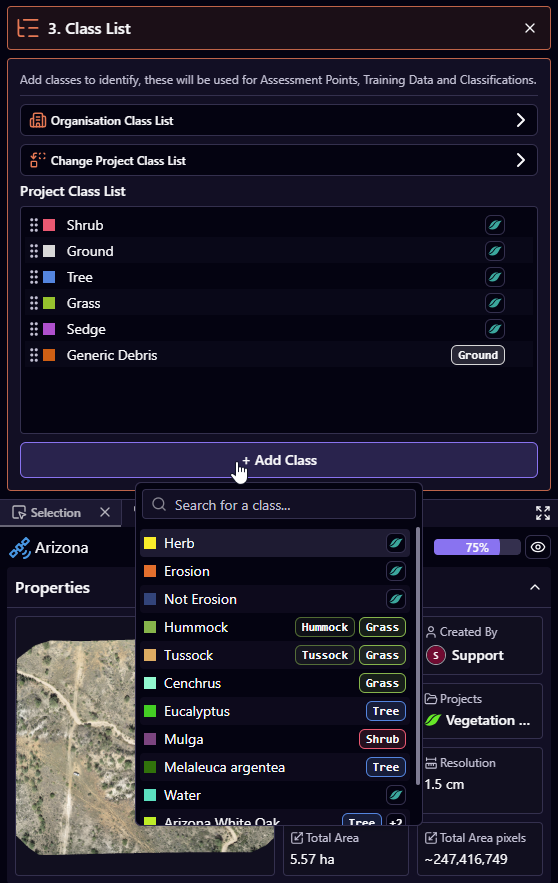
- Click + Add Class to add new categories.
- Choose from both Public Classes and Custom Classes from your Organisation Class List
Organisation Class List
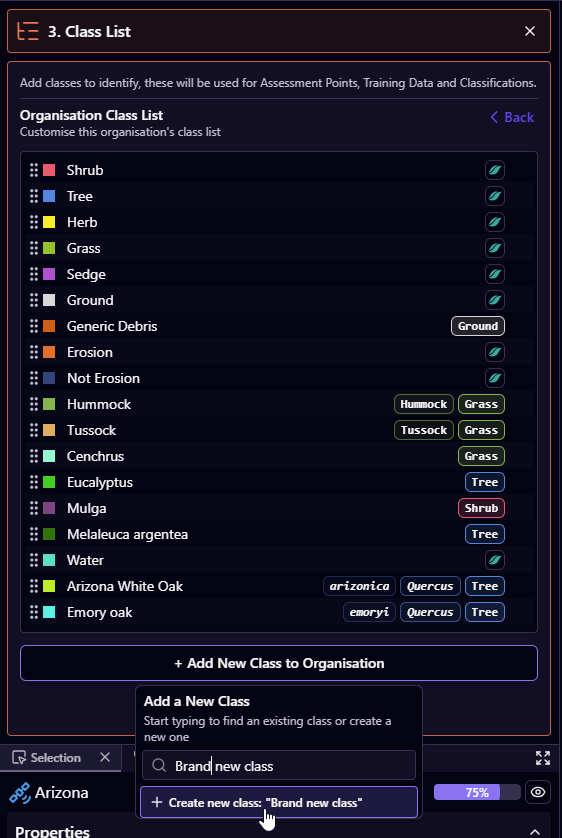
- Displays all public and custom classes created within your organisation.
- Ensures classification standards remain consistent across projects.
- You can add new custom classes here for long-term, organisation-wide use.
Creating a New Custom class
To create a new custom class in TytonAI, you now do this directly through the Organisation Class List, making it reusable across all projects.
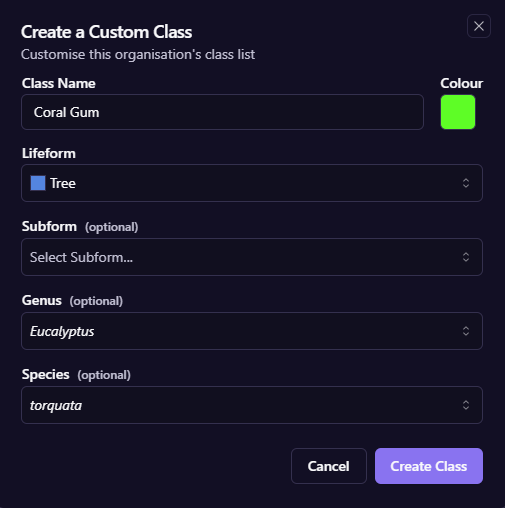
In the Create a Custom Class window:
-
Class Name
Enter a clear, descriptive name for your class (e.g. Coral Gum). -
Colour
Assign a unique colour to visually distinguish the class in the map and outputs. -
Lifeform
Select the appropriate category (e.g. Tree, Grass, Shrub, Ground, etc.).
This is important for grouping and model behaviour. -
Subform (optional)
Further refine the class if required. -
Genus (optional)
Add scientific classification (e.g. Eucalyptus). -
Species (optional)
Add species-level detail (e.g. torquata).
- Click Create Class
Your new class is now:
- Available in the Organisation Class List
- Ready to be added to any project via + Add Class
Best Practices
- Balance detail with usability: Choose a realistic number of classes that can be reliably distinguished in your imagery.
- Use public classes when possible: They have the strongest model training and produce the most reliable outputs.
- Create custom classes for organisational needs: Use these to maintain consistent labeling across projects.
- Plan for consistency: Review your imagery and target features before creating a class list.
When structuring your classification hierarchy:
- Start with broad vegetation lifeforms (trees, shrubs, herbs).
- Group species with similar growth forms together.
- Include classes for non-vegetation features (water, bare ground).
- Consider seasonal changes in vegetation appearance.
If you're working with existing vegetation maps:
- Export your classification scheme from QGIS or ArcGIS Pro as a CSV
- Ensure each class has a unique ID number
- Match class names exactly to maintain consistency
- Consider creating a crosswalk table if merging multiple classification systems